Welcome back readers. On Sunday, April 19th, Philly SCCA had their first event of the season for points-- Mini of the Mainline Event #1.
The week following this event was full of racing action. I had a test and tune on the previous Sunday, I had a track day on Wednesday of that week, and those events all led up to the first autocross of the season.
With over 150 entries, the season opener is always full of people and there is a limited amount of runs. This means that there were only four runs for each person and therefore less opportunities to tweak the car's settings.
My run occurred in heat three. During heat two, I took the opportunity to prep my car for the first run. In addition, my friends Edd and Shawn ran in heat two!
Edd's Car
At the test and tune, I noticed that I was getting a lot of sidewall scrub at what seemed like the optimal tire pressure for a compromise of grip and oversteer for my heavy, front-wheel drive car. So, I decided to change my tire pressures from low to high. Here is what the tire pressures were at before I ran:
Front Driver: 34 PSI
Front Pass.: 32 PSI
Rear Driver: 32 PSI
Rear Pass: 30 PSI
It looks like they had changed since my track day since my tire pressures were two PSI lower on my passenger side than my driver side. Maybe I don't remember changing them after some hot laps? NJMP's thunderbolt does have a lot of left turns after all. The pressures for the first run were:
Front Driver: 40 PSI
Front Pass.: 40 PSI
Rear Driver: 36 PSI
Rear Pass.: 36 PSI
For the second run, I noticed a lot of understeer. Despite this I went down to 36 PSI in the rear while the tires were hot. Note that hot PSI are always higher than cold PSI. Think ideal gas law if you've ever been in a high school chemistry class. Run 2:
Front: 40 PSI
Rear: 36 PSI
Second run was my best run. I understeered like crazy into a corner after the turnaround at Warminster, but the time I made up in the slalom on the first half of the course made a huge difference. I don't know why I didn't just wait to see if my brakes would heat up to allow me to stop sooner or if the increased tire temps would increase my quickness, but I guess I was just antsy.
Photo by Anthony DiGiovanni
I think that's one of the challenges with autocross for a guy like me. I'm so tempted to make changes to the car when it may not be necessary. I may have just been able to leave the car at the same tire pressures since I did so well in the first half of the course and just adjust my driving style for the second half of the course.
Photo by Anthony DiGiovanni
I guess it all comes with experience. Anyway, I adjusted my tire pressures for the third run despite all of this. Run three was as follows:
Front: 38 PSI
Rear: Same as before
Photo by Anthony DiGiovanni
Run three was actually slower than I predicted. I got some pretty nasty oversteer in the first slalom and that slid me into the Chicago box on the firs thalf of the course. As a result I decided to lower the rear tire pressure for the fourth run:
Front: 36 PSI
Rear: 32 PSI
The fourth run went better in the first half of the course, but again my brakes didn't bite as I had expected in the second half of the course...so I ended up hitting a cone head-on with my car. It kind of sucked! At the end of the day my best time was a 42.9 and I got third in DSP thanks to my mishap on the fourth run!
Photo by Anthony DiGiovanni
Despite all of this nonsense though, as you can see in the above picture, my friend Alex finally got to autocross his winter build known as Touge Turbo! Go look up the hash tag on Instagram to see more his build! #TougeTurbo
The video of my runs is below! I even included cockpit video with this one and as usual I included commentary on my driving technique and on the car setup. Thanks for reading guys!
With racing season upon us I will have many opportunities to fill your plates with plentiful portions of technical jargon, racecars, and fun, fast, and safe driving! On April 15th, I experienced my first track day ever thanks to SCCA and their new program called "Track Night in America."
Track Night in America is aimed at newcomers who wish to enter into track racing from essentially any avenue. Whether you're a kart racer, autocrosser, or traffic jam bum, if you want to get to racing then you can do so with Track Night in America thanks to the SCCA. It is a safe, controlled environment where you can push the limits of your car.
As a matter of fact, everyone I was driving with either autocrossed before or was a regular autocrosser!
Image from SCCA
With a price tag of $150 before a one day only $25 discount, I could not resist the temptation. Although the track day occurred from 3 to 9 PM, cutting into the work day, so-to-speak, this price is nearly half the cost of an average track day with HPDE or Hooked on Driving or any other camp. However, with any event comes preparation that needs to take place.
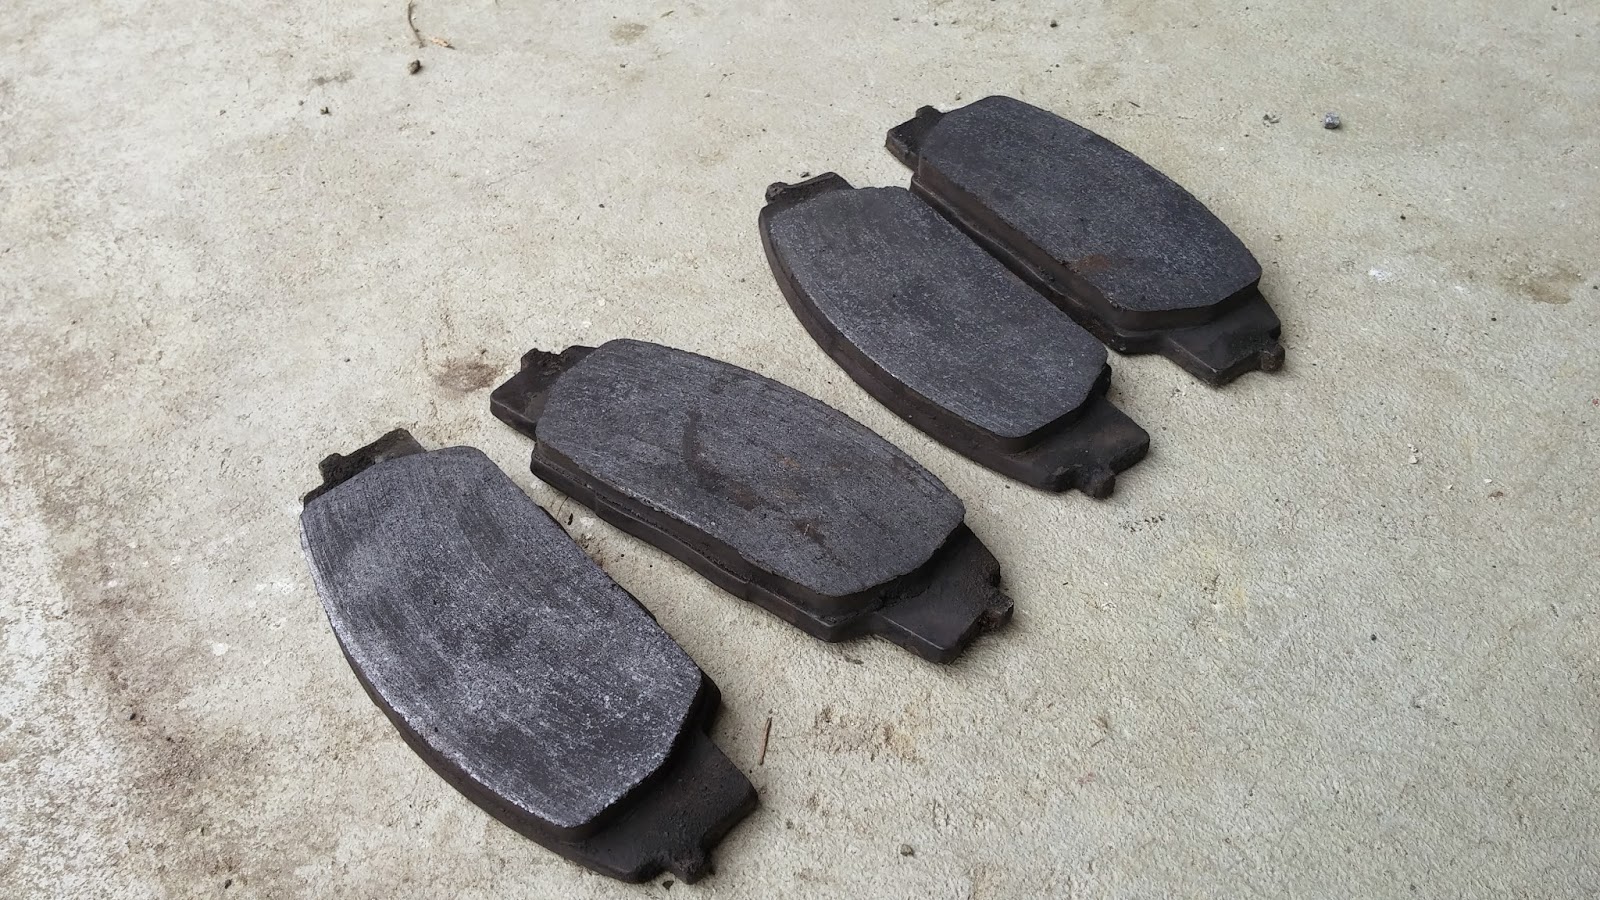
As mentioned in my previous article, one of the first things I tackled was the brake pad situation. On the track, stopping and turning are much more important than going straight. One of the first things mentioned on New Jersey Motorsports Park's tech form is that brake pads should have more than one half of their life left.
Since I had been using my HP Plus pads for more than a season of autocross, I felt it was time to finally replace them. Here's what the old pads looked like-- they definitely have some life left in them!
Next, I sent my car off to my good friend Alex who was supposed to align my car. The desired settings were:
Front camber: -3.0 degrees
Rear camber: -2.0 degrees
Front and rear toe: Neutral
Caster: non-adjustable on the RSX
However, thanks to a seized rear eccentric bolt, rear toe was not adjustable. Since Alex didn't want to do a half-good job of aligning my car, he stopped at rear camber and let me know that after four hours he was unable to do anything with the car. Thanks anyway Alex!
In addition to my poor alignment, out of good will, while Alex was washing my car, my aero block-off plates came off! I guess it's better it happened there than at the track!
So, not only was my alignment bad and my block-off plates had popped off, but there was a slew of other things I had to comb over before I brought the car on the track. On the checklist I had:
Fix front camber on driveway
Fix front toe on driveway
Make sure all bumper clips were securely fastened
Tighten down the battery strap
Install my new Hawks and bed them in
And make sure all suspension components were in good order.
I started by jacking the car up and maxing out the camber, within reason, on my adjustable top hats. The top hats are pictured below:
However once I did that, the car's toe was EXTREMELY out of whack. The car tracked hard to the right, so I had to adjust the tie-rod ends with some guesswork.
After doing that I tightened down the battery strap, I tightened the lower locking collars on my coilovers, I checked all of the wheel bearings, I installed my pads, and I bedded them in. Since I had done so much in just a couple of hours before I was due to leave, I took it easy on my way to New Jersey Motorsports Park (NJMP).
When I got there, I signed in at the gate, drove to Thunderbolt (one of two circuits at NJMP) and got set up at the paddock area.
I brought a couple of things with me to make sure I'd be able to lounge comfortably during the advanced and intermediate sessions, my friend's GoPro, and I also brought some tools with me to make sure the car would be in good hands.
This is, of course, in addition to my helmet, which you must have, my long-sleeve sweater, which you must have, my close-toe shoes, which you must have, and my long pants, which you also must have.
Here's a more detailed list of what I brought:
A large tarp to cover my belongings
A box of open-ended wrenches
10 mm through 14 mm deep sockets and a ratchet
A small toolkit which was comprised of a small ratchet and multiple shallow sockets
Allen wrenches
A chair
Dinner (PB&J)
Lots of water
GoPro
GoPro charger
Number plates-- in case we needed to be marked
Painters tape-- to hold my magnetic number plates to the car
A pen and some paper
Sunscreen
Helmet
Sweater
Jack stand
Note that I may have over-packed, but it was my first track day and I did not want to be unprepared.
Once set up, we held a driver's meeting. During the driver's meeting we went over hand-signals to let people know that you want them to pass you, we went over passing zones, we went over flag signals, and we went over general tips to stay safe on the track. The novice group had their own special leader who took the time to ensure we all had a fun, safe time on the track. His name was Tom. Thanks Tom!
After the driver's meeting, we filled out a self-tech form. This form goes over everything from having your battery tied down, to discolored, cracked, or warped brake rotors, to no floor mats or loose items in the car. We signed it to ensure that we were liable for any accidents and handed it over to the coordinators of the event.
Then, we headed out for paced laps to understand the corners on the track, including turn-in points, apex points, exit points, braking points, acceleration zones, and passing zones. Here's the car that I was following-- an intermediate class STi!
After the paced laps, we sat and waited for the advanced driver (there was only one) to finish his run. However, due to a stroke of bad luck, his drain plug came loose and he spilled some oil on the track. According to my sources though, he was able to turn off the motor in time before damaging it!! I'm happy to hear that.
As a result, there was a bunch of kitty litter put out on the track to make sure that no one slid on the oil. This made for some tricky situations on its own, but it was definitely better than the greasy alternative, if you know what I mean.
After the mishap in the advanced group, we all waited for the intermediate group to get finished with their runs. While we waited, I got some cool videos of the faster guys driving by!
And finally it was time for the beginner group to run. Here's a map of Thunderbolt and the layout we ran for future reference:
Initially I took it slow. I wanted to get a feel for the track and ramp up my corner speeds and get later and later in my braking zones to push the car.
Eventually I got comfortable on the track and really learned where I could push the car. The turns that were covered in kitty litter initially tripped me up really bad. And after the long front straight that leads into Turn 1 at NJMP, I learned that it was difficult to heel-toe due to the sheer magnitude of braking that needed to be done.
This area proved difficult to heel-toe downshift in
I wasn't passed once and after the first run everyone was asking who was driving the red Honda!
However, whenever you drive your car hard, it is to be expected that there may be some sort of mechanical issue. When I popped the hood I noticed oil on one side of my valve cover and freaked out! I quickly took off my intake manifold cover and while doing so I noticed that a bolt holding my valve cover on had come off. The area is shown below:
So, I simply took a bolt from somewhere else in the engine bay and replaced the one that fell off with it. Notice how there's no washer on the middle, front valve cover bolt as well. That's because I took that washer and used it on the corner valve cover bolt.
After that, for the second run I took things easy at first. I watched my temperature gauge and looked in my rear view for smoke. I also kept my senses keen to make sure that no funny smells were coming from my engine bay. With all things in check, I began to push the car a little harder and I still did not get passed once.
Finally, before I started the last lap, I asked the novice instructor, Tom, about one corner in particular that I did not know how to handle. It was unlike some of the kinks that took place at high speeds because for those I could just let off the throttle, oversteer, and hit the gas. It was also unlike the low-speed technical corners where I could slam the brakes, oversteer, and hit the gas.
He ended up telling me to keep the car in forth gear, brake gradually, and let off gradually. Doing so induced corner entry oversteer and allowed me to power out of the corner. Here's the corner I'm talking about:
If you want to take a look at my driving, check out this video! It has a lot of comments to help you guys see what I was thinking and what I was doing to be slower or faster through given sections and corners! Maybe if you want to get into track racing this will help you!
At the end of the day I ended up meeting a bunch of people and having an amazing time. Everyone agreed that I was the fastest of the day and I learned so much and had a blast driving with the other novices. People kept asking if my car was turbocharged and how much displacement I had. When one driver heard I had an N/A 2.0 liter motor he was shocked!
When I was leaving, some instructors even stopped by and asked who was driving the "red Honda" as everyone called it. They said, yeah, "you're definitely ready for intermediate group!"
It felt so good finally being fast-- as compared to autocross where all of the lighter cars with better tires destroy me. I guess we'll see how I do next time! But for now, I'm gonna sign off. Hope you had fun reading!
Ok, so in the last article we went over the disassembly of the motor, including the cylinder head and the girdle and ultimately, the removal of all of the pistons and con-rods. In this addition, I will go over the unwrapping and visual inspection of my new K24A2 RBB-1 cylinder head!!!!
...
At this point, you are left with a bare block and a crank. For me, these are the only things I need.
This is because the CRV motor has a relatively low stock compression for an all motor, performance application and it comes with a cylinder head that only has VTEC on one camshaft.
Although its cylinder head flows extremely well, I would need to run a VTEC killer setup on this head or modify the head to accept VTEC roller-rockers, if I remember correctly.
And even then I would only be running on two lobes, rather than three. And if I plan on increasing reliability, my intuition leads me to believe that this would not be the best option.
So I sold the K24a1 head for only 10 dollars less than what I paid for the whole motor and bought a K24A2 RBB-1 TSX head for the sole fact that it has true VTEC (intake and exhaust VTEC).
Here's the box when it arrived! I was so excited.
Let's take a closer look at the head shall we? Good 'ole Canada post was probably a little rough with the head...judging by this bent stud. No biggy though. I can have this removed and replaced with an OEM part in no time.
Here's a shot of the VTC cam gear and the exhaust cam gear. On the RBB-1 TSX head, the VTC cam gear only has 25 degrees of cam angle adjustability.
In comparison to the VTC gear from my current motor, the K20Z1 from the 05-06 RSX Type-S, this is not much adjustability. The reason for this may partly be due to emissions or other design factors from Honda. However, it is known that running a K20Z1 VTC gear, or any other VTC gear with 50 degrees of adjustability on a stock TSX motor, results in an increased risk for piston to valve contact. Hondata recommends a maximum adjustability range of 45 degrees.
However, I plan on checking clearances on this motor before it is put together, so this will allow me to decide for myself what will be safe in terms of VTC adjustability.
Looking at the camshafts and the roller-rocker mechanisms and the springs and lost-motion assemblies (jeez) nothing seemed out of the ordinary.
The main things I was looking for included any abnormal wear on the camshaft lobes and the roller-rockers. I wanted to make sure that oil was getting to all of the rotating parts. I also wanted to be sure that this motor didn't suffer from any oil starvation.
Check out the shots of the exhaust cam side:
Now check out the shots of the intake side:
Shots of the LMA's on the intake side:
Shots of the exhaust side LMA's:
Shots of the intake and exhaust spring retainers and roller-rockers to speed things up a bit:
I wanted to check and see if any of the valves were bent. So, I shined a light into each port, intake and exhaust, and looked at each valve for each port to see if it wasn't sitting correctly.
Finally, I took a look at the combustion chambers. To see if these valves are truly sealing I will do a leak down test with some water. I'll show you guys how I do this later when I start to show how I blueprinted and inspected the whole motor using machinist tools!
Until that time, I'll talk to you guys later. Hope you enjoyed my cylinder head hahah. More importantly, however, I hope you learned a lot. There's way more stuff to come.


.jpg)