
To read about my previous attempts to smooth out the front of the DC5, check out these links:
Part 1
Part 2
The following article documents the removal of the front fog lights and fake brake ducts on the USDM Type-S for replacement with solid flat plates which are lighter than the fog lights and are more aerodynamic than the fake brake ducts.
When I'm autocrossing I don't experience brake fade anymore. I used to with Advance Auto brake pads and stock rubber brake lines with DOT 3 brake fluid. However, not that I've switched to DOT 4 fluid with stainless lines and Hawk brake pads I am not experiencing this phenomenon anymore.
When I do hard, high-speed street driving I also don't experience brake fade. However, just in case I did I took the stock Type-S brake ducts and I cut out the fake grilles on the ducts.


I painted these flat black, and then I inserted them into the bumper. The goal was to have these pieces be fully removable and OEM-like in form and function. The following pictures show the initial fit and finish:


Part 1
Part 2
The following article documents the removal of the front fog lights and fake brake ducts on the USDM Type-S for replacement with solid flat plates which are lighter than the fog lights and are more aerodynamic than the fake brake ducts.
When I'm autocrossing I don't experience brake fade anymore. I used to with Advance Auto brake pads and stock rubber brake lines with DOT 3 brake fluid. However, not that I've switched to DOT 4 fluid with stainless lines and Hawk brake pads I am not experiencing this phenomenon anymore.
When I do hard, high-speed street driving I also don't experience brake fade. However, just in case I did I took the stock Type-S brake ducts and I cut out the fake grilles on the ducts.
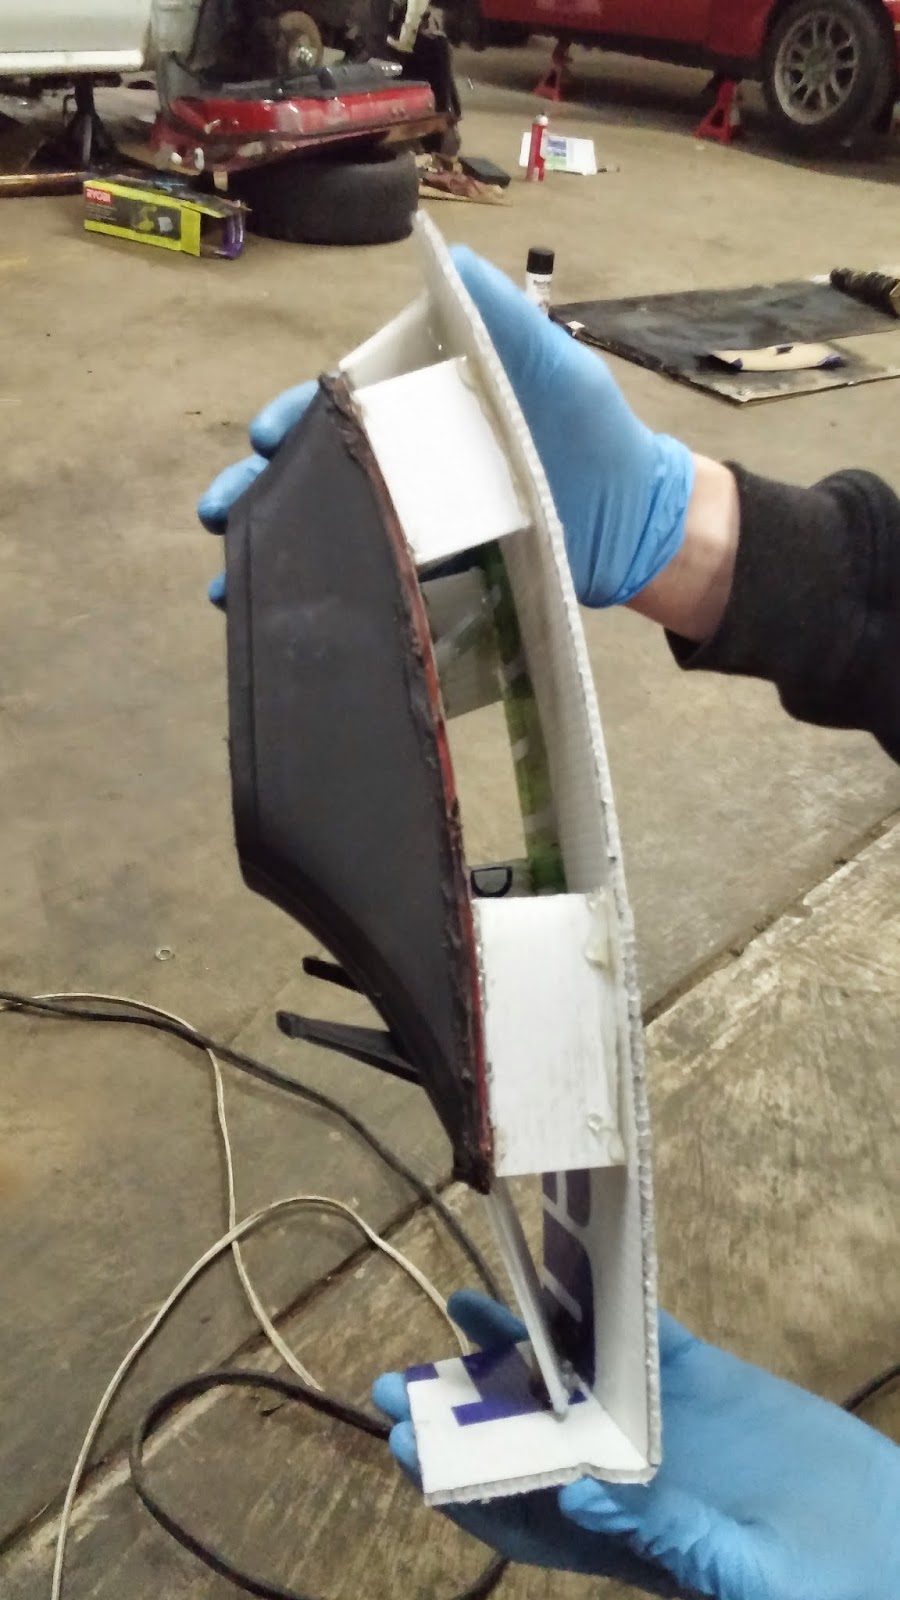
To do so, I removed the fake grilles which simply clip into the bumper, and then I glued corrugated plastic onto the front of the fake duct.
After I did this, I had a fully removable block-off plate for the front bumper. However, I wanted the plate to be flush with the bumper because this is better for aerodynamics. Although for the driving I do this will yield negligible results I did it because it was a free mod.
So, with that being said, I primed them and decided to paint them with some cheap WalMart paint to make them match my bumper.
And although they look wonderful in the picture above, they actually didn't match the color of the paint on my bumper, so to make them look better, I decided I'd paint them an OEM satin black:
However, again, they weren't flush with the bumper. So, I decided to make them flush with the bumper this time. I'd sand the flat black plates that I showed you guys in the above pictures and I'd hot glue some extensions to them so that the new plate could sit flush with the front of the bumper.
With these "mounts" cooled off and solidly mounted to the original plate I made, I then cut out a template that would fit in front of the bumper and glues that onto these mounts. Believe me, I am dumbing it down for you guys.
I painted these flat black, and then I inserted them into the bumper. The goal was to have these pieces be fully removable and OEM-like in form and function. The following pictures show the initial fit and finish:
After I finished this, I brought the parts of the plates that sat closest to the grille in the middle futher in toward the bumper.
The result was a modification that could hold up to even the most extreme of weather conditions. Oh the joys of corrugated plastic!
That's it for this read. Until next time, thanks for reading!