

Photo taken from EvolutionM
Last time on Lexi.Laron I spoke about making plates that cover the lower-left and lower-right parts of the grille to prevent air from entering into the engine bay and making frontal lift and drag at high speeds.
Since sharing my idea with the readers of this wonderful blog I have made some significant progress.

For starters I picked up a new Dremel. The one I bought was only sixty bucks and it came with a slew of attachments and accessories along with the ability to vary speeds-- which is extremely important.

Originally I started out with an acrylic sheet. Using my dremel, I cut out the shape of the cardboard that I mocked up in my previous article.

Then I took out my heat gun and went out to the garage to start doing some testing.

I bent the edges to fit the bumper and I bent the far-right part of the acrylic to fit into the center part of the grille as well. I used some tape to hold it on for mock up. While mocking it up I formed around the edges to make it fit the bumper in a better manner.

As you all can see, the fitment was less than optimal. Bending the edges with my fingers made ugly looking dimples all around the edges. So, I tried to do it again with a sheet of Lexan (polycarbonate plastic)-- this time not molding with my fingers.

As you can see I used postage tape to mock up the block-off plates. I then used a heat gun and a metal bar to bend the Lexan to shape. However after enduring numerous jokes about postage tape being the fastest way around the track from some fellow members in ClubRSX. I decided to scrap the idea of Lexan altogether as well.

I then set out to do some research. I asked people what they wanted to see with the plates. I made an Instagram Post to see if people would be interested in spending money on them. I posted pictures of my progress to Facebook. I posted pictures to ClubRSX's Track Chat Thread and to K20A...

And a lot of people wanted to see these mounted flush to the bumper, for one. And another thing I found out was that people who would actually be using these to serve a functional purpose wouldn't even be running fog lights. So I decided that making the block-off plates out of a clear material for fog lights would be useless anyway...right?

And since metal WOULD be easier to bend anyway...and since it IS thinner, the fitment would be flush and would leave tighter clearances...right?

So, I decided to use some aluminum instead! Yes, aluminum is ductile (easy to mold or bend), it is a light metal, and it will definitely be functional, flush, and look pretty good for those interested.

Here you can see how the plate bends into the center part of the grille. I used tape to mock it up and my bare, man hands to bend it in!


Then I trimmed around the edges where necessary and bent the plate around the edges toward the corner of the bumper and molded that as well..using tape, once again, to mock it up to the bumper.

Here is how the final fitment will look..when I finish the brackets that hold it on.

The brackets need to allow the user to take the plate off without removing the bumper for ease, while still holding the plate over the area firmly.
With all of that in mind, I decided I needed a bracket with a hole on one side to allow for the user to first bolt the bracket onto the bumper, and with threads on the other side to allow the user to secondly bolt the block-off plate onto the bracket.
However, how in the hell would I get threads on one side of this bracket? Speed nuts...but how would the speed nuts be kept in the bracket?

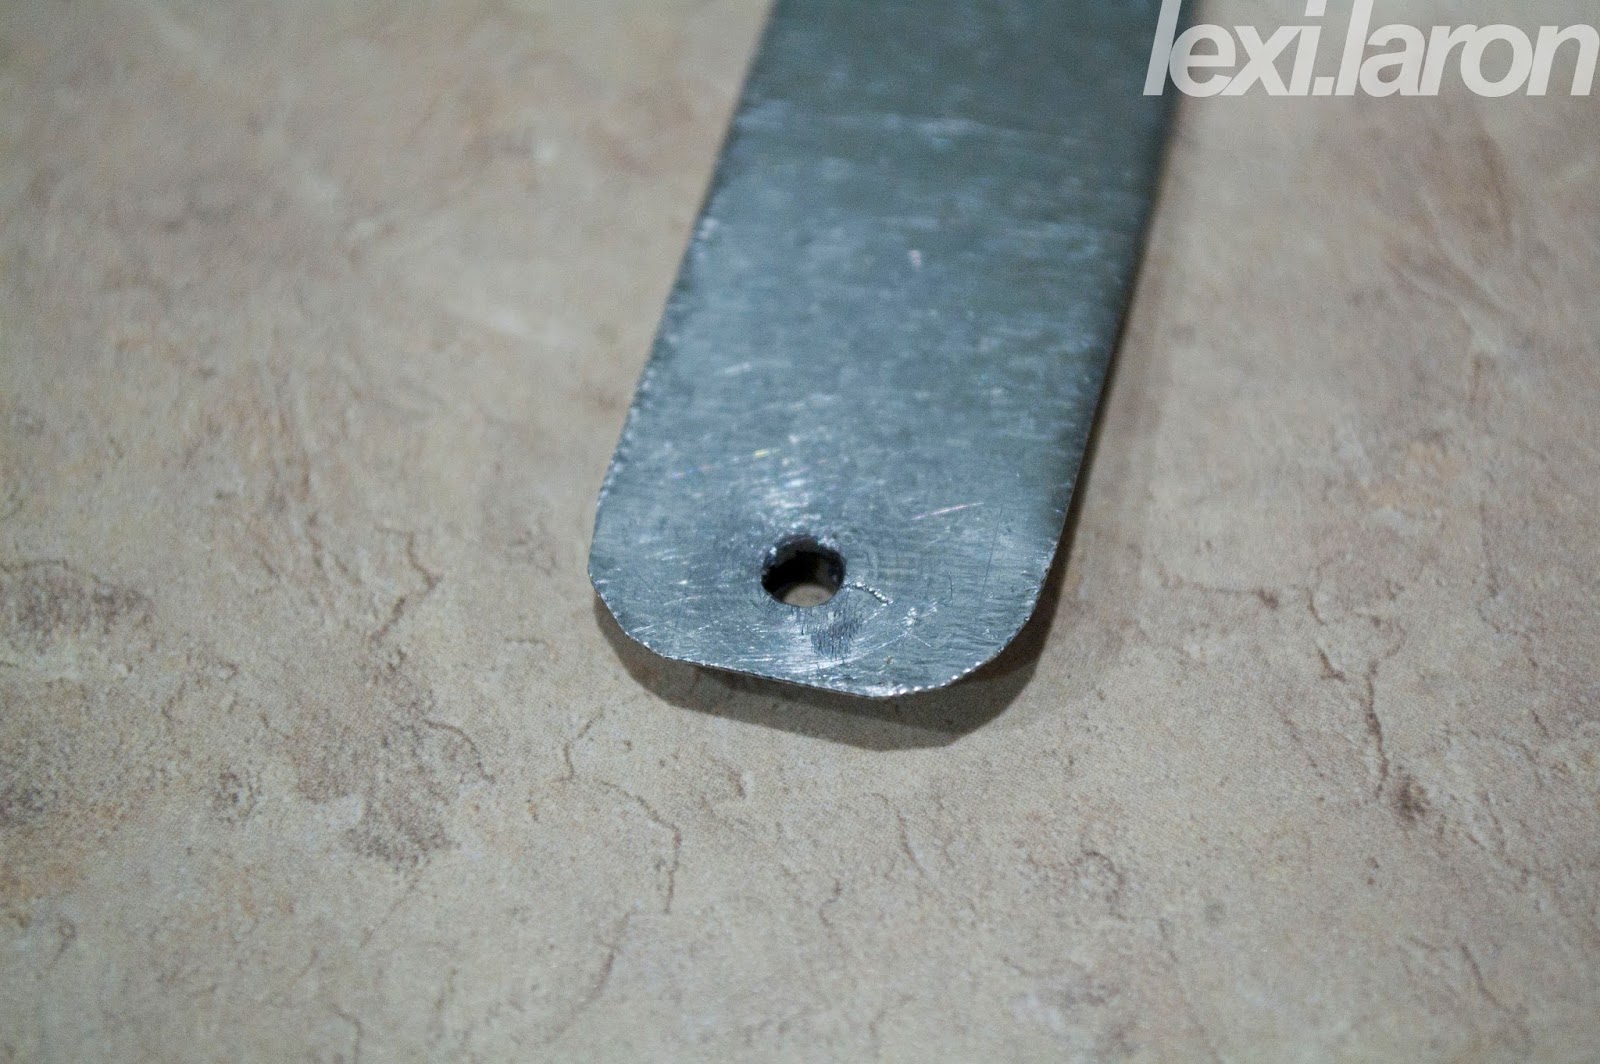
That's right, I soldered the speed nuts onto the bracket. I sanded down the sheet metal, I sanded down the speed nut's edges (with a Dremel of course) and to test to see if my theory would work. First I put a hole in the bracket.
Then I took my machine bolt and threaded it through the speed nut on one side of the bracket.

Then with that speed nut clamped down using the machine bolt I soldered the edges of the speed nut to the bracket. It's my first go at this, so be kind with your words.


With all of that said and done, I'm currently working on a way to mount these brackets to the front of the car without having to drill any holes in the bumper. This may require that the OEM duct cover (not the fog light) be used and drilled through for mounting points for this block-off plate.
However, given that it is difficult to do this fabrication I may end up using expansion nuts in drilled holes in the bumper. This would require minimal modification and wouldn't look horrendous.
However, given that it is difficult to do this fabrication I may end up using expansion nuts in drilled holes in the bumper. This would require minimal modification and wouldn't look horrendous.
Until then I'm going to let you guys go. I hope that you all keep up with the blog and stay tuned for more articles.
I am proud to say that I am going to be doing a review for Private Label Mfg. for one of their race headers for the RSX and EP3! This will be my first technical "sponsorship" and I hope that everyone is looking forward to reading up on this great company's product.
Until then, peace out readers!
No comments:
Post a Comment
Comment