Showing posts with label Project. Show all posts

Friday, January 3, 2014

Project DC5: Wisconsin Boredom and the K24 Adventure


I'm now in Wisconsin and I've been there for about three or four months for work as most of my friends know.  It's been incredibly lonely and it's not until you're away from your family that you realize that the only people who will really do you favors or the only people who really care about you are family.


And when you finally find people who are honest enough to tell you how they really feel about you, sometimes it can be offensive to the point where you don't want to chill with them.  So when the going gets tough, the tough gotta get going...and going I did.

Pursuing multiple projects, I entertained myself for these past couple of months.  For example, I was working with an Arduino which is a small micro controller from Radioshack.  It was fun, but eventually I lost interest in it.  So, while bored as hell browsing Craigslist for parts, I came across this on Craigslist:


For $260 bucks I really couldn't go wrong.  The deal was a K24a1 from a 2002-2006 CRV with approximately 110,000 miles.


When I got to the guy's house, I was surprised by an incomplete long block in very good condition.  Only a day before I was scheduled to fly home to Philly for the holidays I tried to get some of the people I met in Wisconsin to help me with picking up this engine block.  However, everyone was busy and couldn't help me...so without a hoist or a truck I traveled over to this guy's house with 260 bucks in my pocket.

The guy was nice enough to actually help me pick up the engine and put it into the back of the car 30 minutes before he was supposed to go out with his wife!
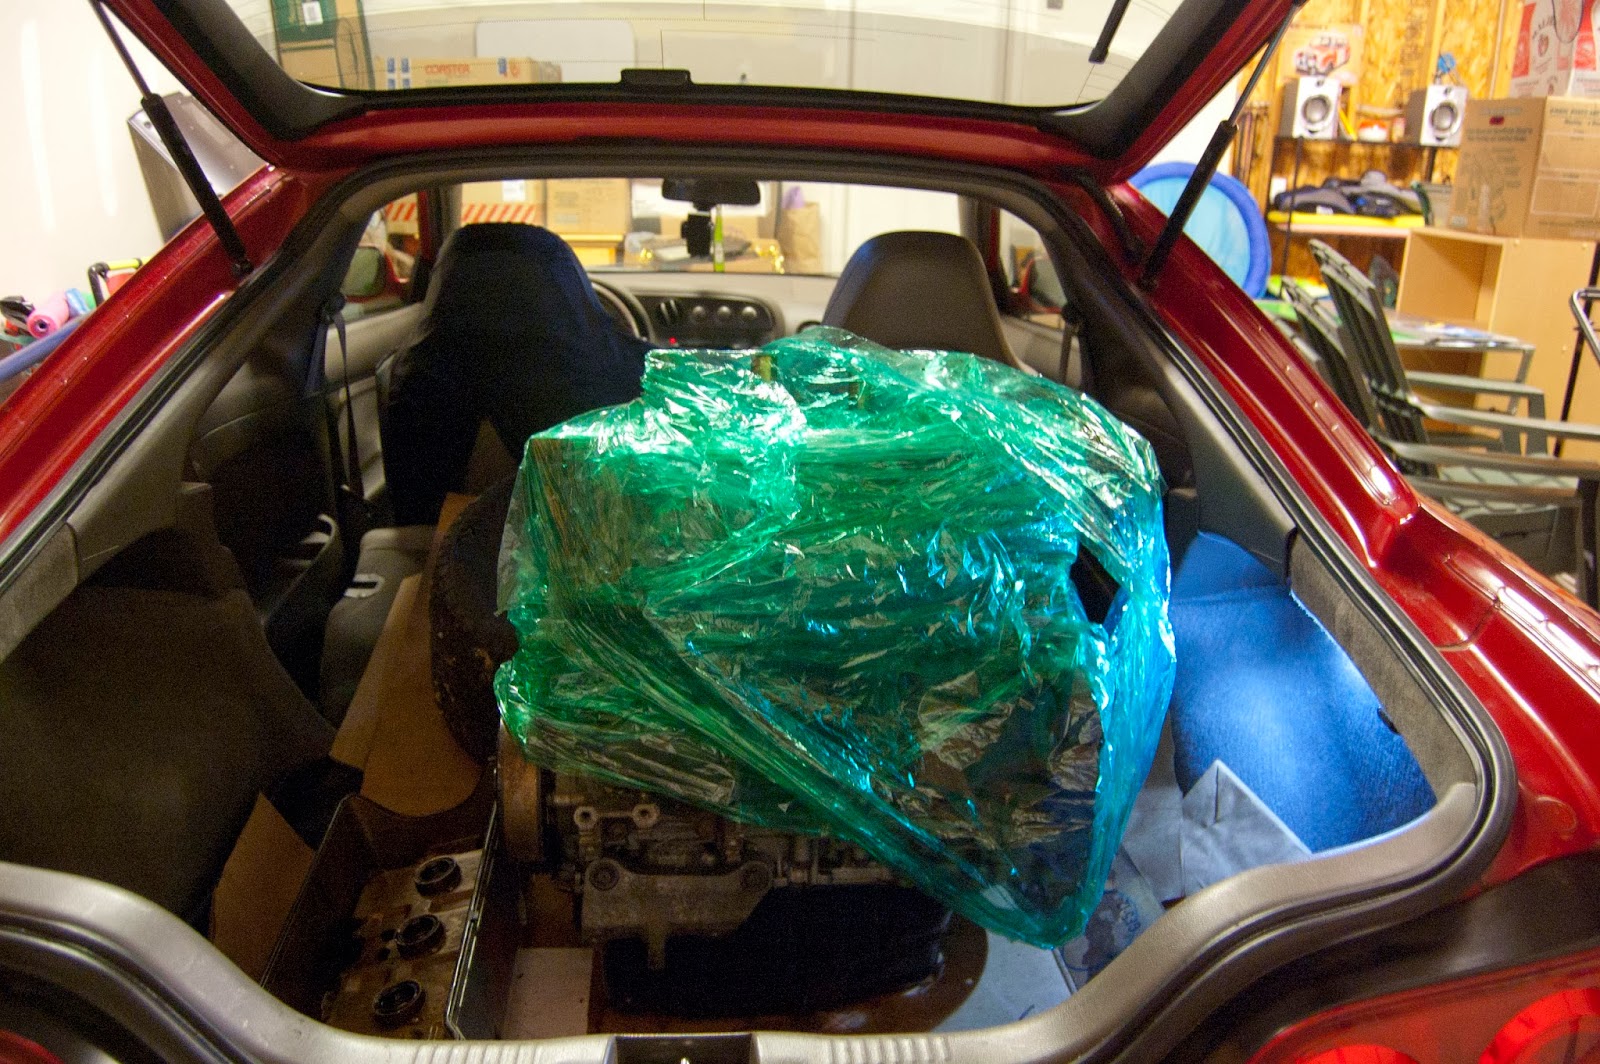


With the engine in the back of my car and my flight...sort of on-schedule I headed back home, went to bed, and woke up to go to the airport.  Madison, WI to Cleveland went well, but Cleveland to Philly didn't go so well.  I ended up spending five hours in between flights drinking beers and hanging out with a dude in a bar who gave me some professional advice before returning home to Philly.


Keep in touch for more Project DC5 Stuff and don't be a loser!  (Just kidding) :)


Thursday, January 2, 2014

Project DC5 Update: Wheels, Tires, Coilovers, Fogs, and More!


Hello and welcome to another addition of Lexi.Laron's Project DC5.  I last left off with an article about my torque damper installation and have since gone through quite a few different modifications.

Aside from the new wheels and tires, coilovers, and fog lights, I have had some great experiences and have made some awesome DIY's as well.  I've attempted to make parts for the car, eventually giving up the idea due to impracticality, and I've been looking toward the future to with my own K24 build up which I will cover in later articles.

So, long story short, It's time to catch you guys up.

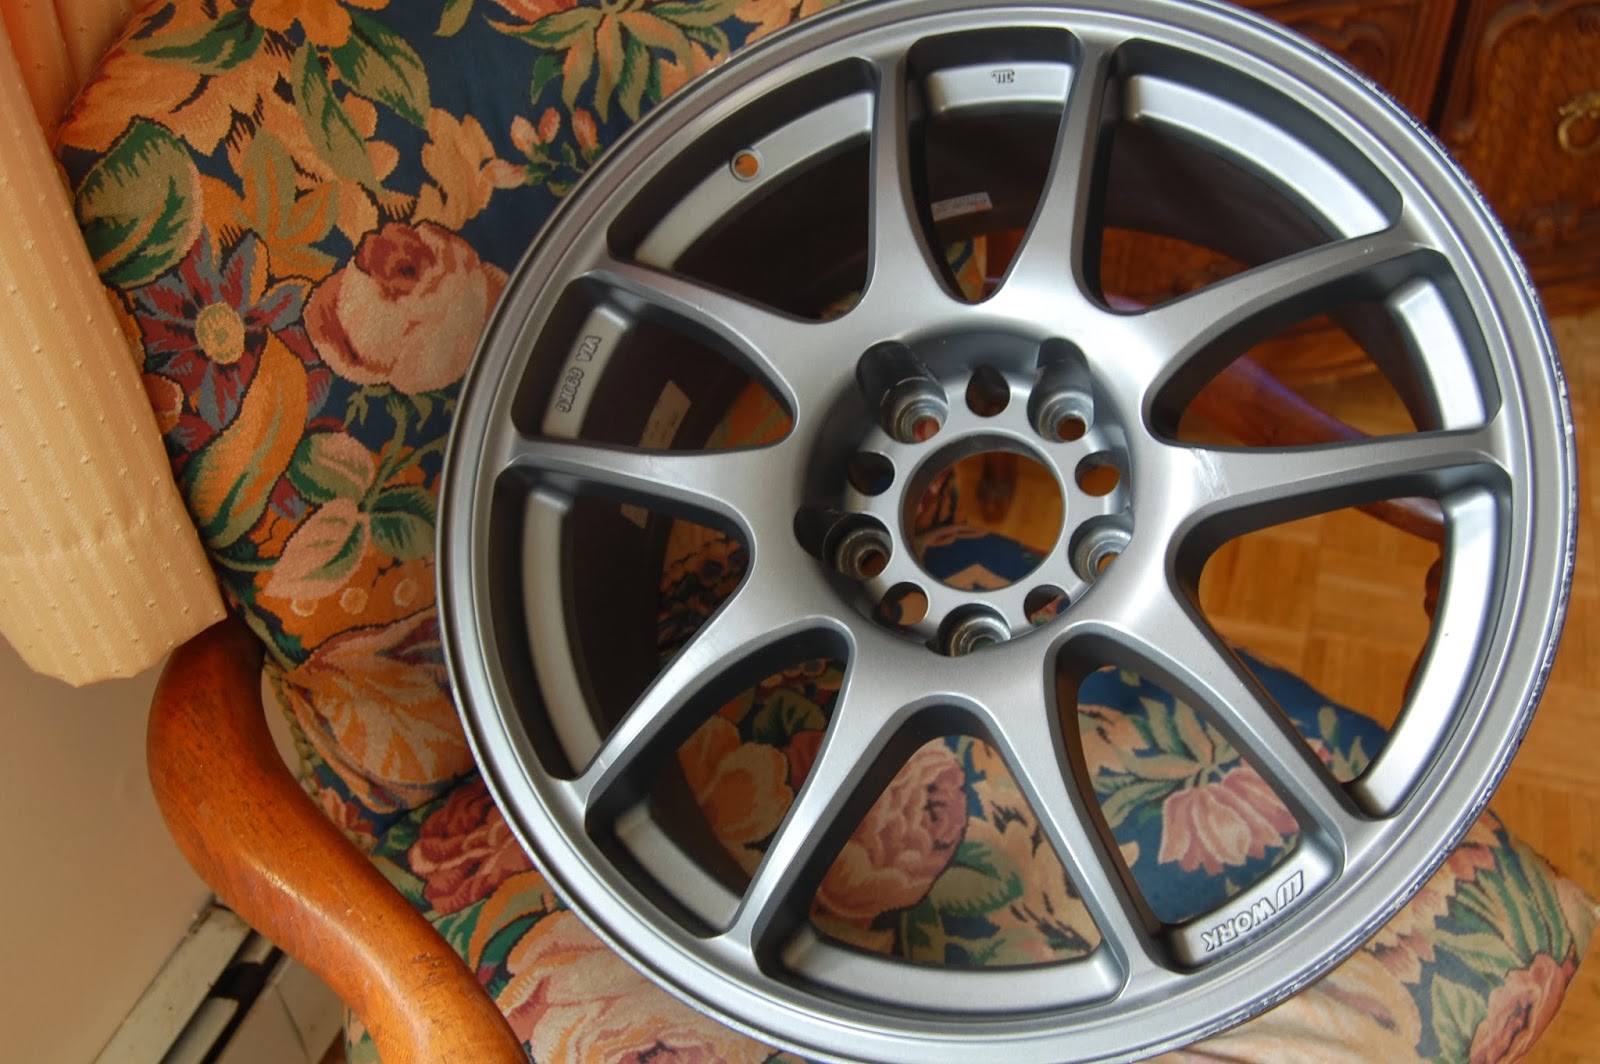
I purchased a set of gold, reverse-stagger CR Kai's in bronze in shotty condition.  They had paint chips in them, but when spun on the balancer they were not out-of-round.  Here's what they looked like when I first got them.


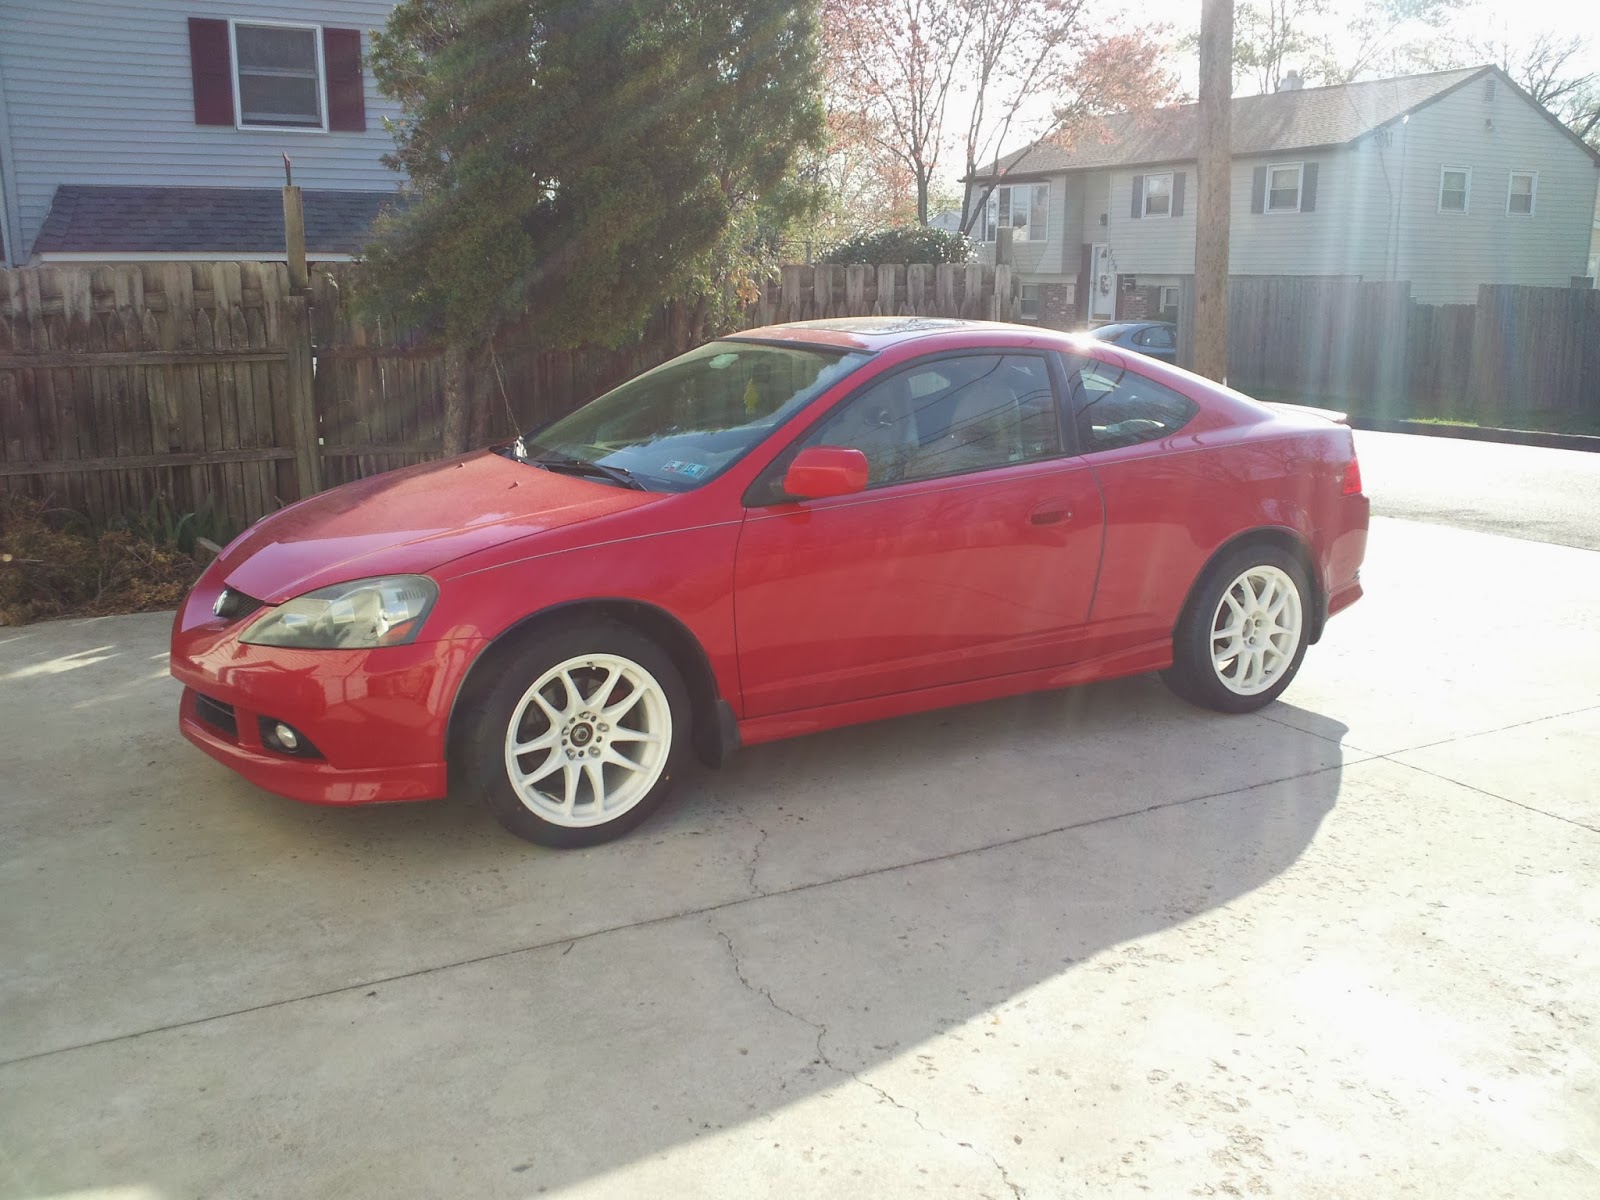
For a while I was debating on re-selling them too, given that I had got them for such a cheap price.  But with encouragement from my girlfriend and from my friends and family, I decided to keep them and do a little something special to them through Vibrant Finish in Penndel, PA.  Here are the specs:

Championship White CR Kai's
17x9" +42 mm offset up front
17x8" +32 mm offset in rear


I was super stoked to get them on, but when you're in school and you're funding all of your own ish, it's not so easy as a lot of you already know.  So I sat around for a while and attended meets and chilled with car friends!  For example, I went to #ShrinkAllTheCars in 2013 with all of my friends!


And while going to #ShrinkAllTheCars in 2013, I heard a loud popping sound..but I ignored it.

However, when I got to FDR Park in Philadelphia, I was notified very rudely about how my tire was flat due to my "VTEC kicking in too hard."  Needless to say, I pulled over, tried to fill up my tire, but was unsuccessful and had to resort to this:


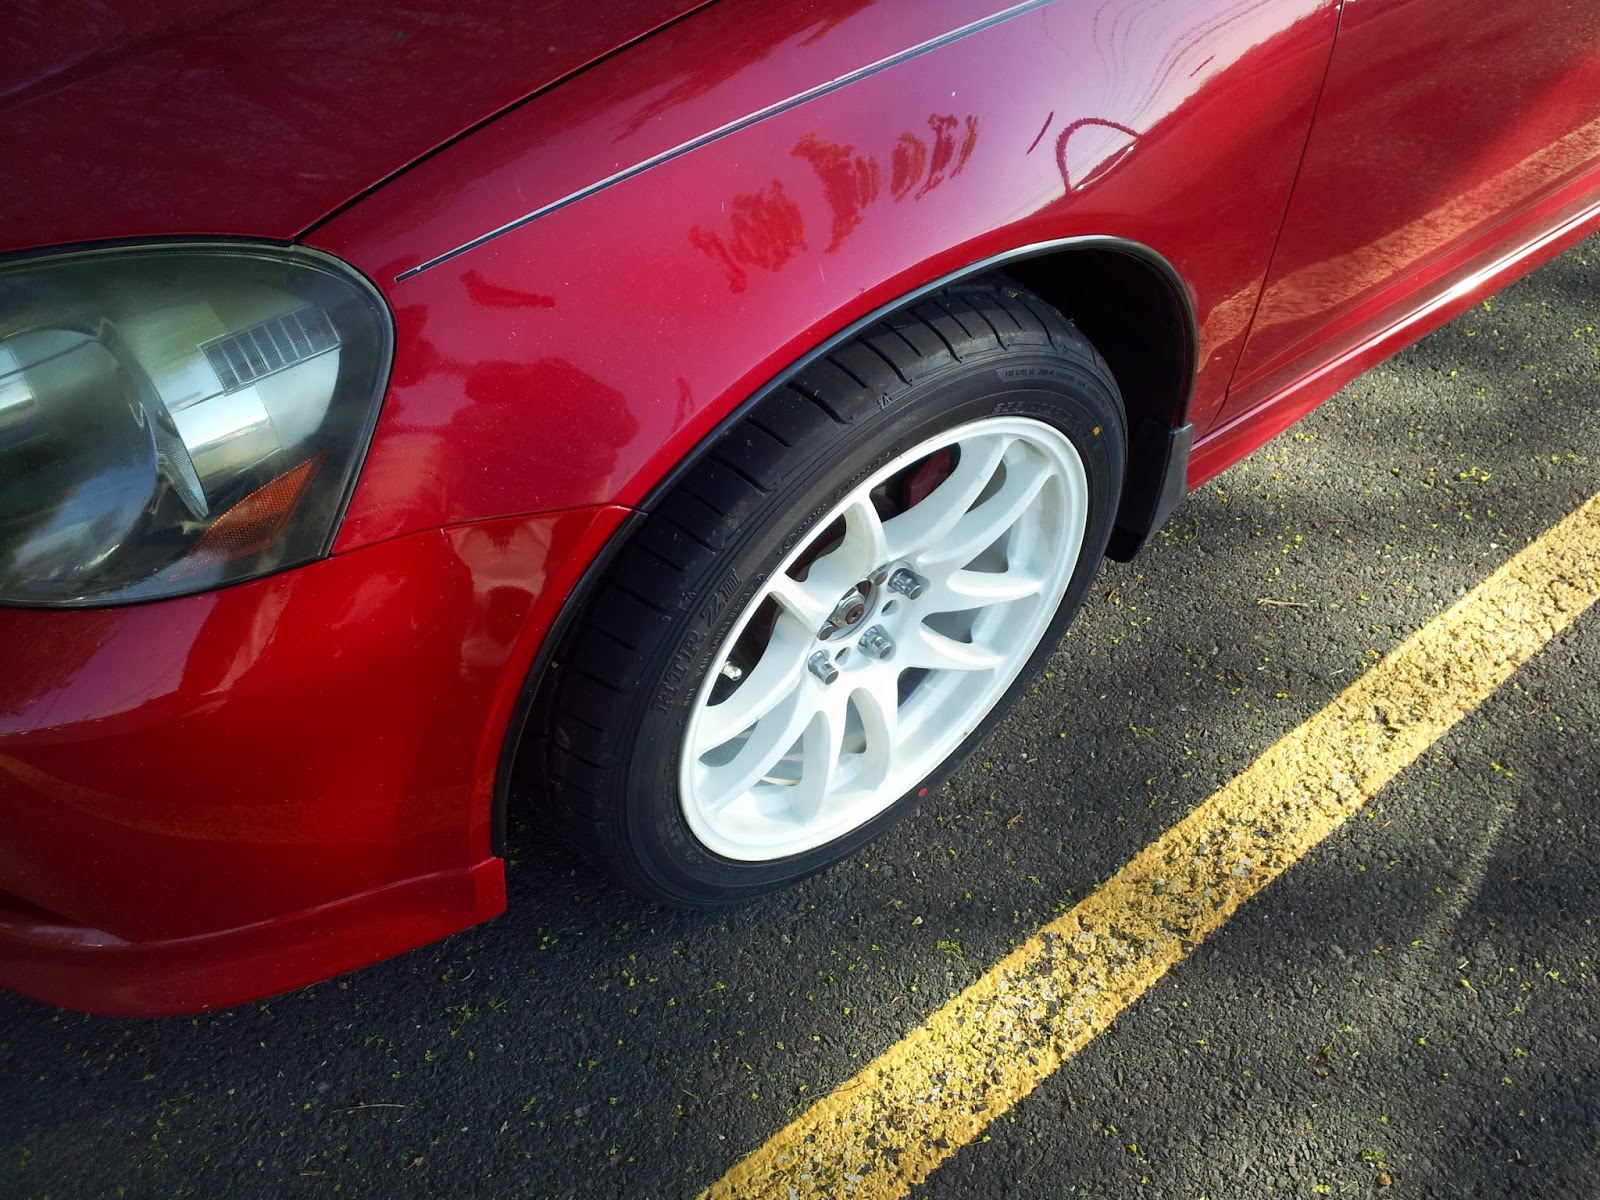
Well that was a kick in the butt.  It's funny how in the car world when something f**ks up on your car sometimes it forces you to replace it with something even better.  It was exactly this that forced me to finally pick up a dang set of Sumitomo HTR Z III's through N-Spire Performance and have them mounted and balanced.


Finally, I had a set of aftermarket wheels on my car.  It's something I had been working on at the time...I didn't want to just settle for a set of knock-offs and I pay for my car myself, so it was important that I could buy it and still be on-budget.  I couldn't have been happier with the results!


However, as it usually goes, the modding bug always bites back and it wasn't too soon before EVERYONE was telling me I needed to lower my car!  So, again, I looked through my budget, planned carefully and BIT THE BULLET!

N-Spire Performance had some issues with Tein due to a discontinuation on the Tein Super Street's with the Pillowball Upper Mounts, but as always, Josh came through and hooked me up with a set of Street Flex's for the same price.  Thanks N-Spire!

It was installation time >:)


Then I went to get the car aligned after having the coilovers installed.


Followed by a healthy fender roll out back.


And of course I had to do a photo shoot after all of this ish was done:


Then I made some small adjustments...Honda decals and Work Emotion CR Kai decals for my wheels.


That's as far as I've come with my baby.  In the distant future I aim to be dropping a k24 frank into my Type-S!  I've already obtained the block and began my dissection which I will cover in some articles in the future ;)


Thanks for reading guys!  I am thankful for my fan base and wish you all the best!


Tuesday, September 3, 2013

DIY: How to Open Your Hood without a Cable on an RSX

So I was installing my Honda badge the other day and everything was going fine.  I was excited to subtly improve the look of my RSX and I was certainly excited to install new parts!

Being the lazy person that I am, I took off the top clips for the bumper's grill, pulled the bumper forward, loosened the hood latch, disconnected the hood latch cable, and installed my emblem.

Little did I know that I forgot to install the cable to the hood latch and my worst nightmare took place next: four hours of opening a hood without a cable.

So, to save you guys time, I decided to make a little DIY to show you how to open your hood without busting your asses!

Before I get started, here're a couple of shots of where my car currently stands.


I recently added some stickers to my Work Emotion CR-Kai's.  They're nothing crazy but I thought they were a nice subtle touch.  Also I took off my factory pin-striping.


And a couple of pics of the Honda Badges....don't hate on my fogged tails!


Disclaimer: I'm not responsible for any unfortunate circumstances which may occur as a result of following these instructions.

Things you'll need:

  1. Jack-- ...to lift your car...
  2. Jack-stands (four-- two to hold the car up, two for --->safety<---a b="" must="">
  3. Drop light-- you will NEED light!!!
  4. Bicycle cable (at least 14")-- to pop hood
  5. LOTS of patience
Here's how the hood latch looks-- know your enemy.  Know it well.


The picture shown above is an unmarked picture for your own reference.  The picture below shows a couple of key areas and comments.


Note the first-most label that says "rear latching mechanism" and is pointing to the short stubby latch.  When your hood is closed, you will not be able to see very well into this latching assembly.  However, if you look carefully you may be able to see this latch.  This latch is what you want to move.  It is what is holding the hood tightly.

Don't get too excited yet though because you won't be able to get it from the front even if you can see it.  You will most likely only be able to move the front latching mechanism as shown in the figure.  This will do nothing.

Be careful if you choose to go through the small space in the front because the two bolts at the top of the latch tend to rip the sheet metal off of the bulkhead shown in the picture.

Here's a top view:


Another top view is shown below:


You will notice in the above picture that there are two cables here.  The first cable is the bicycle cable I used to pop the hood and the second with the plastic sleeve is actually the OEM cable which I did not connect.  Here is a better picture:


Whenever installing your latch, always be sure to reinstall the cable with the sleeve that is in better focus in the second picture.

The method I recommend involves going under the car without undoing any clips and fishing a bicycle cable through a hole.  The reason for using a bicycle cable is because your hood latch works very similarly to your old bicycle brakes.  

The rear latching mechanism is actually pulled in a similar way by the OEM cable.  The two pictures below show what I am talking about, but less clearly.  Please refer to whichever is most clear.


After jacking up your car and setting up a drop light in between your transmission and your A/C heat exchanger take your bicycle cable and reach up into the area between the radiator fans and the transmission.


If you look closely you can see where the bicycle cable sits in this picture and where it is feeding into.  Let's get a closer look.

The arrow shows where the bicycle cable is feeding into.  Your hood latch (a little black box shit) is sitting in that front bulkhead enclosing (little red hole shit).


It's super annoying, but you're going to take the fat end of the bike cable and you're going to try and pull the "rear latching mechanism" in a similar manner as shown in the pictures.  You have to reach up into the space shown above as well doing this.


This method takes a lot of patience, but it was the only method that worked for me and it did not damage my bumper or grill or new Honda emblems or latch!

Hopefully this helped you open your hood!  It did for me ;)

Until next time, peace.