
So, in the walkaround video showcasing my interior, I mentioned that the door had some minor defects...and after opening the door up, I discovered MAJOR defects.
Remember that the window went up too far, there was no tweeter cover, and the door handle was missing the piece that goes behind it. Needless to say, that would be the least of my worries as I proceeded to fix these problems.
Anyway, here are some pictures showcasing what makes this door so disgusting and makes me such a good mechanic :). Enjoy!
Day 1

Me being sexy :) hahah


Some ugly-ass speakers that the previous owner installed. I'm disgusted.

Some non-factory bolts that the previous owner installed-- eww.

The previous owner used a bunch of non-factory bolts to put the window together. It stripped some of the threads on the door assembly.

This bolt was rattling around in my door for, possibly, decades.

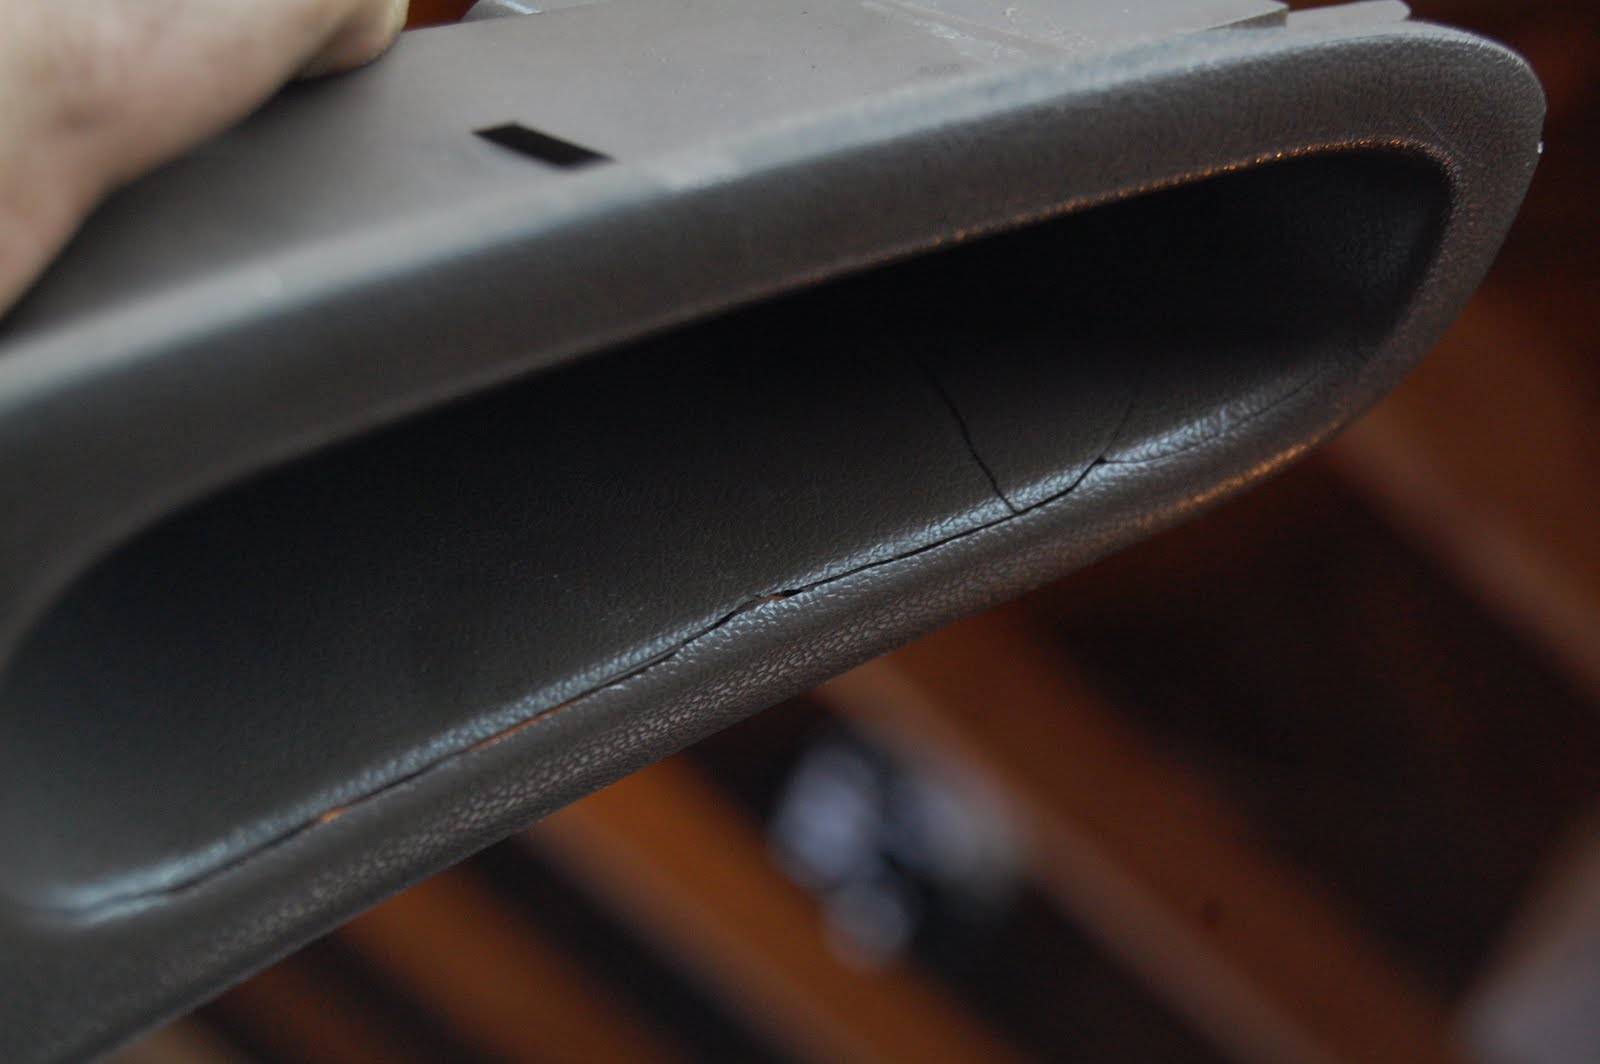
Before I began fixing the window, I wanted to glue this window button panel back together and touch up some of the imperfections a bit to avoid buying a new panel. Let me know what you think of my handiwork! Also, keep in mind that this is a partial restoration-- hence the "avoid buying a new panel" part.
The old panel...


And here I go fixing it up!


A lot of the holes for the screws were stripped and broken-- I fixed those too so that it would hold up over time.

Now, let's take a look at restoring the "DOOR LOCK" and "WINDOW LOCK" font.

I took a Bic whiteout pen and a bunch of tooth picks to restore the font.

First I dipped the tooth pic in the pen's ball-point tip, then I scratched off the white paint.

This is what it looked like after I did each letter.


And this is a rough look at what it should look like.

Day Two!
I clear-coated the part that I painted the other day to make sure it wouldn't get scratched off.
Here's the can...

And here's the results!!

Then I began making a bottom for the panel's cup so I could put change and other things in it! :o

I cut it out and test fit it to see how much I needed to take off the edges.

Then I traced it onto masking tape and removed it.

I placed a peice of green felt cut out to that shape on the masking tape and cut around the masking tape to make...

THIS. Then, I repeated this process until it was stiff enough to hold change at the bottom of my panel's cup.

This is the finished product.

NEXT TIME...
I'll show you guys my removal and adjustment of the power window from the door to eliminate wind noise on the highway and improve the ride quality of my Lexus.


Stay tuned!!!
Awesome post, very good write up. Im doing some restoration on my SC300 Lexus and ill be posting up some updates on the Club Lexus forums.
ReplyDeleteThanks a lot man! You should send me that link so I can keep up with your build because I love the Soarer.
ReplyDelete